
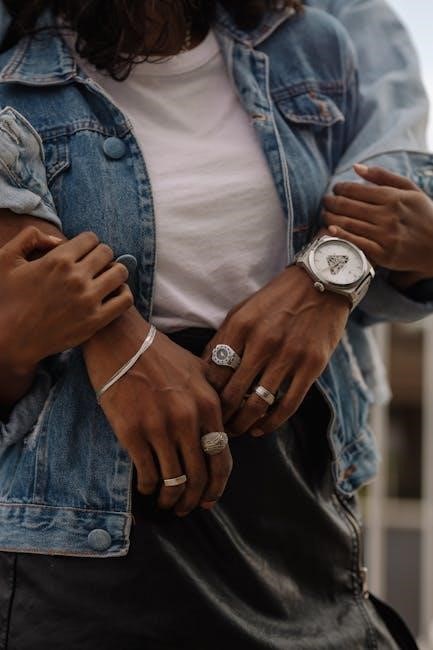
Friendship bracelets are traditional handcrafted accessories symbolizing friendship and unity, originating from Central America. They gained popularity in the 1970s and are now a creative way to express affection and connection, offering versatility and customization for diverse tastes. With detailed guides and patterns widely available online, crafting these meaningful bracelets has never been more accessible.
1.1 History and Cultural Significance
Friendship bracelets trace their origins to Central America, particularly Guatemala, where they symbolize unity and friendship. These handcrafted accessories gained popularity in the U.S. during the 1970s, becoming a cultural phenomenon. Their intricate designs and personalized touches reflect the bond between creators and wearers. The tradition has been preserved and shared globally, with printable PDF instructions making it easier for people to craft and exchange these meaningful bracelets.
1.2 Popularity and Versatility
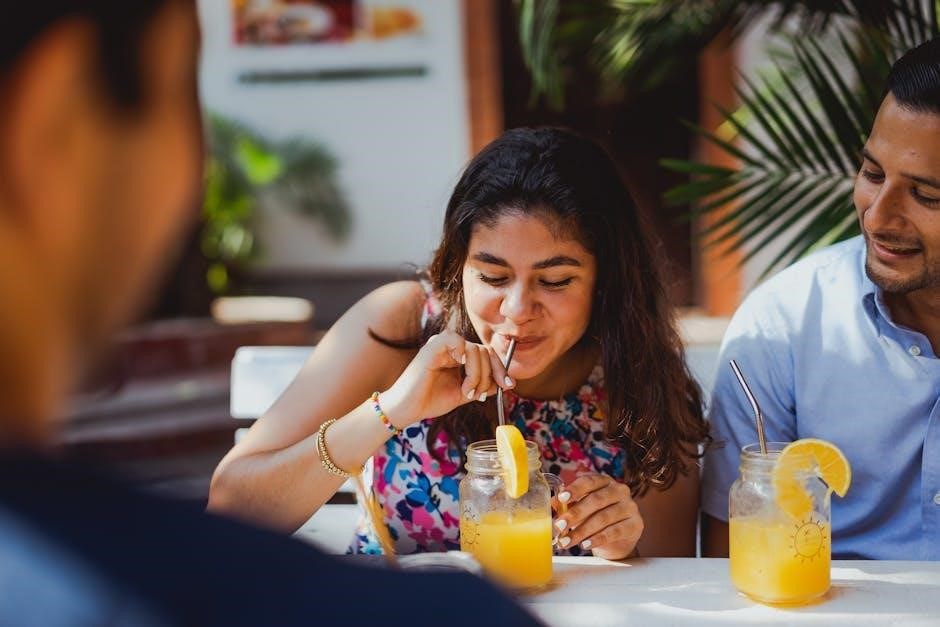
Friendship bracelets have remained a beloved craft due to their simplicity and personalization. They appeal to all ages, offering endless design possibilities, from basic patterns to intricate styles. The availability of printable PDF guides has further boosted their popularity, making it easy for crafters to explore various techniques and create unique bracelets that reflect individual tastes and friendships.
Materials Needed for Friendship Bracelets
Embroidery thread in various colors, scissors, beads, and clips are essential. Threads are typically 25 inches long, with four colors recommended for basic designs, easily found at craft stores.
2.1 Embroidery Thread Colors and Lengths
Embroidery thread is the foundation of friendship bracelets, available in vibrant colors. Each strand should be 25 inches long, allowing ample length for knotting. Four colors are typically used, with two strands per color, ensuring symmetry. Craft stores offer a wide palette, making it easy to personalize designs. Proper thread length ensures the bracelet is neither too tight nor too loose, providing comfort and durability.
2.2 Basic Tools: Scissors, Beads, and Clips
Scissors are essential for cutting embroidery threads to the desired length. Beads add decorative elements and personal style to bracelets. Clips or clamps help secure strands while knotting, preventing tangles. These tools are readily available at craft stores, making it easy to start your project. Proper use of these tools ensures a neat and professional finish, enhancing the overall quality of your handmade bracelet.
Basic Knotting Techniques
Mastering forward and backward knots is fundamental to creating secure and stylish friendship bracelets. These knots form the foundation of all designs, ensuring durability and aesthetic appeal. Printable guides often include step-by-step visuals to help learners practice these essential techniques effectively.
3.1 Forward and Backward Knots
Forward and backward knots are the building blocks of friendship bracelet patterns. A forward knot involves crossing the right strand over the left, while a backward knot does the opposite. These knots create the foundation for intricate designs, ensuring the bracelet is both secure and visually appealing. Printable guides often include visual tutorials to help learners master these essential techniques, making them accessible for crafters of all skill levels. Consistent practice ensures tight, even knots that enhance the overall design and durability of the bracelet.
3.2 Securing the Bracelet with Knots
Securing the bracelet with knots is essential for a durable and long-lasting accessory. Begin by tying a double knot at the end of the braided threads to prevent unraveling. For a polished finish, braid the excess threads and secure them with a final knot. Trim the ends neatly to ensure a clean look. This method ensures the bracelet stays intact while maintaining its aesthetic appeal, making it a thoughtful and lasting gift for friends.
Popular Friendship Bracelet Patterns
Popular patterns include diagonal stripes, chevrons, and spirals, offering versatility for all skill levels. These designs are easy to follow and perfect for creating unique, personalized gifts.
4.1 Diagonal Stripe Pattern

The diagonal stripe pattern is a classic and easy-to-master design. It involves knotting threads in a sequential manner to create diagonal lines across the bracelet. This pattern is perfect for beginners, as it requires only basic knotting skills. By following step-by-step instructions, you can achieve a vibrant and visually appealing bracelet. The diagonal stripe pattern is a timeless choice, ideal for both casual and personalized gifts;
4.2 Chevron and Spiral Designs
Chevron and spiral designs add a dynamic touch to friendship bracelets, creating visually striking patterns. These designs involve alternating knots to form peaks and curves, resulting in a modern aesthetic. Spiral patterns often incorporate macramé knots for intricate details, while chevrons use forward and backward knots to create symmetry. Both designs are popular for their versatility and can be customized with different colors and beads for a personalized look.
Step-by-Step Guide to Making a Basic Bracelet
Start by tying a knot, then braid or knot threads to create patterns. Secure the bracelet with a final knot and trim excess thread for a polished finish.
5.1 Starting the Bracelet: Tying the Initial Knot
To begin, tie a secure knot about 1-1.5 inches from the top of the threads. This knot serves as the foundation, ensuring the bracelet stays intact. Double-knotting is recommended for added stability. Properly securing the initial knot is crucial for a neat and durable bracelet. This step sets the stage for subsequent patterns and designs, making it essential to tie it tightly and evenly. Following the instructions in a printable guide can help achieve a professional finish.
5.2 Creating the Basic Diagonal Stripe
The basic diagonal stripe is a popular and timeless design. Start by crossing one strand over another, then tie a knot to secure. Repeat this process, moving along the length of the threads, alternating colors to create the stripe effect. Follow a step-by-step guide to ensure consistency and even spacing. This technique forms the foundation for more intricate patterns and is a great way to practice knotting skills while creating a classic look.
5.3 Finishing Touches: Securing and Trimming
To complete your bracelet, tie a secure knot at the end, leaving a small loop. Braid the excess threads and trim them neatly. Tuck the ends under to prevent unraveling for a clean finish. For added durability, a small dot of clear nail polish can be applied to the final knot. This ensures your bracelet stays intact and looks polished, ready to be worn or gifted.
Advanced Techniques and Patterns
Explore intricate designs like macramé knots and spiral patterns. Use beads for added style and complexity. Printable PDF guides offer detailed instructions for mastering these advanced techniques.
6.1 Macrame Knots for Complex Designs
Macrame knots add sophistication to friendship bracelets, enabling intricate patterns like spirals and chevrons. By tying knots over strands and securing them tightly, you can create textured, complex designs. Printable guides often include step-by-step visuals for mastering these knots, ensuring precise and stylish results. Practice these advanced techniques to elevate your bracelets with unique, eye-catching designs that showcase your skill and creativity.
6.2 Incorporating Beads for Added Style
Beads enhance friendship bracelets, adding elegance and personalization. Use seed beads, gemstones, or charm beads to create unique designs. Printable guides offer tutorials on threading beads and securing them with knots. This technique allows for diverse styles, from subtle accents to bold statements, making each bracelet truly special and reflective of the wearer’s personality or the giver’s thoughtfulness.

Customizing Your Bracelet
Customize your bracelet with personalized colors, patterns, and messages, ensuring a unique and meaningful design that reflects individual style, made easy with printable guides.
7.1 Choosing Colors and Patterns

Selecting colors and patterns is crucial for personalizing your bracelet. Opt for hues that reflect your personality or match your friend’s style. Patterns like stripes, chevrons, or spirals add visual appeal. Printable guides offer inspiration, ensuring your design is both unique and meaningful. Experiment with combinations to create a one-of-a-kind accessory that symbolizes your friendship beautifully. This step allows creativity to shine, making each bracelet truly special and heartfelt.
7.2 Adding Personalized Messages or Charms
Elevate your bracelet by adding personalized messages or charms, making it extra special. Use beads with letters or symbols to spell names or meaningful words. Small charms like hearts or stars can also be incorporated. Printable guides often include tips for securing beads or charms. This personal touch makes the bracelet a heartfelt gift, symbolizing friendship and shared memories. It’s a creative way to add emotional value to your handmade design.

Tips for Beginners
Start with simple patterns and practice basic knots. Use clear instructions and manage thread lengths to avoid tangles. Begin with short threads and patience for best results.
8.1 Managing Thread Lengths
Start by cutting embroidery threads to the recommended lengths, usually 25-30 inches, to ensure enough material for knotting without excess. Organize threads by color or pattern to maintain clarity. Avoid overly long strands to prevent tangling. Secure threads tightly at the starting knot to maintain tension; Keep scissors handy to trim excess as you work. Proper thread management ensures a smooth and enjoyable crafting experience for beginners.
8.2 Avoiding Common Mistakes
Beginners often struggle with uneven tension, causing bracelets to pucker. To avoid this, keep threads taut but not overly tight; Count knots carefully to maintain pattern consistency. Ensure the starting knot is secure to prevent unraveling. Use a clipboard to hold threads in place, minimizing tangling. Regularly trim excess thread ends for a neat appearance. Double-check the pattern before knotting to avoid costly corrections later in the process.

Cultural and Symbolic Meaning
Friendship bracelets symbolize unity and affection, originating from Central America. They represent lasting bonds and are often handmade as meaningful gifts, embodying cultural and emotional significance;
9.1 Origins in Central America
Friendship bracelets trace their origins to Central America, particularly Guatemala, where they were crafted as symbols of friendship and unity. Traditionally, locals used vibrant embroidery threads to create intricate designs, often bestowed upon friends as tokens of lasting bonds. This custom spread globally in the 1970s, becoming a popular craft worldwide, while retaining its deep cultural significance and emotional value.
9.2 Symbolism of Friendship and Unity
Friendship bracelets embody deep symbolic meaning, representing enduring bonds and unity between individuals. Each thread and knot signifies a connection, while vibrant colors reflect shared memories and emotions. Wearing one symbolizes trust and loyalty, while crafting it demonstrates care and commitment. These bracelets transcend mere accessories, becoming heartfelt tokens that celebrate friendships and foster a sense of belonging across cultures and generations.
Resources for Printable Instructions
Find free PDF downloads and step-by-step guides for friendship bracelets on craft websites, Etsy, and Pinterest. These resources offer easy-to-follow patterns and tutorials for all skill levels.

10.1 Free PDF Downloads
Discover free PDF downloads offering step-by-step guides for friendship bracelet patterns. Websites like Etsy, Pinterest, and Teachers Pay Teachers provide printable instructions for various designs, from basic knots to intricate macrame. These resources are perfect for beginners and experienced crafters alike, ensuring easy access to creative and customizable bracelet-making projects.
10.2 Recommended Websites and Tutorials
Explore top websites like Pinterest, Etsy, and Teachers Pay Teachers for extensive collections of printable friendship bracelet instructions. These platforms offer free and paid PDF tutorials, featuring step-by-step guides for various designs. From basic knots to intricate patterns, these resources cater to both beginners and experienced crafters, ensuring a smooth and enjoyable bracelet-making experience with easy-to-follow instructions;
With countless resources available, crafting friendship bracelets has become effortlessly accessible. Printable PDF instructions offer step-by-step guides for every skill level, from simple knots to intricate designs. Whether for personal enjoyment or as heartfelt gifts, these bracelets symbolize enduring connections. Explore the wealth of tutorials online to unlock creativity and bring meaningful, handcrafted beauty to your life and the lives of others.