
Understanding the Valve Guide’s Role
The valve guide ensures proper valve alignment and seating, crucial for efficient combustion and engine performance. Typically made of durable materials, it withstands high temperatures, especially in exhaust ports. Wear can cause oil leakage and performance issues, necessitating timely replacement.

Identifying the Problem
Identifying a faulty valve guide in your Briggs and Stratton engine is crucial to prevent further damage. Common symptoms include excessive oil consumption, white smoke from the exhaust, and poor engine performance. A loose or worn valve guide can cause the valve to misalign, leading to improper sealing and reduced compression.
Visually inspect the valve guide by removing the rocker cover. Look for signs of wear, such as movement or gaps around the guide. If the guide is protruding or recessed, it may indicate wear or misalignment. Another sign is bent push rods, which can occur due to improper valve movement.
Over time, the valve guide can slip or become loose, especially in aluminum block engines. This is often caused by heat expansion and contraction. If the guide is flush with the head casting but still problematic, it may require reaming or replacement. Always consult the repair manual for specific measurements and guidelines to confirm the issue.
Air leaks or unusual engine noises can also point to a faulty valve guide. Addressing the problem early is essential to avoid costly repairs, such as replacing the entire cylinder head.
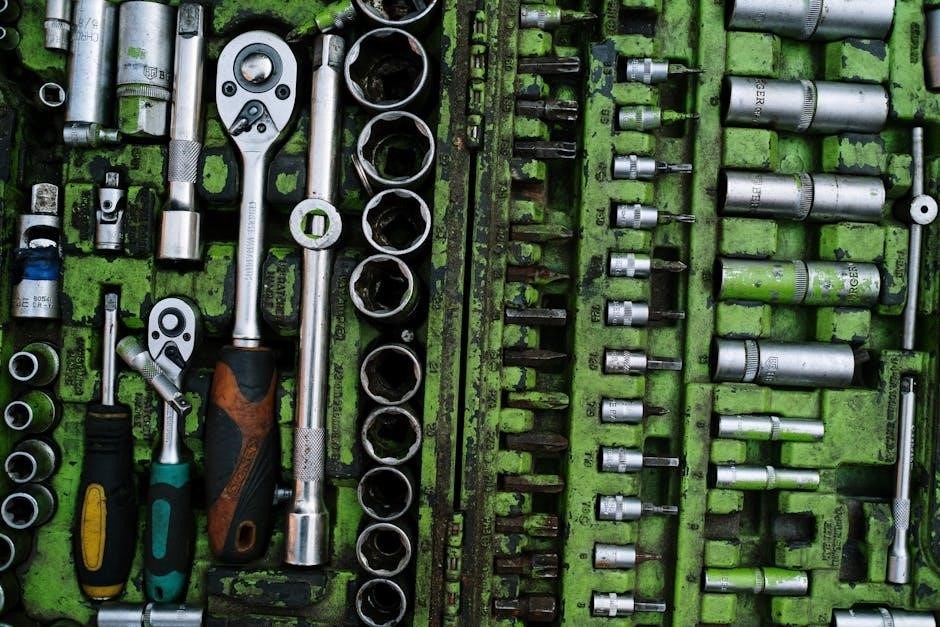
Obtaining the Correct Repair Kit
Acquiring the right repair kit is essential for a successful valve guide repair on your Briggs and Stratton engine. The kit typically includes a new valve guide, reamer, bushing, and installation tools. Ensure compatibility by referencing your engine’s model number, such as 190432-0645-01, to avoid mismatches.
Briggs and Stratton recommends using genuine parts, such as bushing part number 231218 or guide bushing 230655, for optimal performance. The correct reamer, such as part number 19183, is crucial for proper installation. Purchase these from authorized dealers or online retailers like Summit Racing, which offers free shipping on orders over $109.
Consult your repair manual for specific part numbers and tools. Some kits include a guide bushing (19192) to facilitate reaming. Measure the worn guide to determine the correct replacement size, ensuring it is 1/16 inch deeper than the new bushing. This step prevents over-reaming and maintains engine integrity.
Double-check the kit’s contents before starting the repair. Having the right tools and parts ensures a smooth process and prevents costly delays. If unsure, consult a professional or Briggs and Stratton support for guidance.
Removing the Old Valve Guide
Removing the old valve guide from your Briggs and Stratton engine requires careful preparation and the right tools. The guide is typically pressed into the engine block, so a puller or specialized tool is necessary for extraction. Start by removing the cylinder head to access the valve guide location.
Thread a 5/16 tap into the guide to create a stable anchor point for the puller. Attach the puller securely and apply even pressure while turning the handle. If the guide is stubborn, heat the area around it with a torch to loosen any corrosion or debris.
Gently rock the puller back and forth to avoid damaging the engine block. Once the guide starts to move, continue pulling until it is completely removed. If the guide breaks or becomes difficult to extract, consider drilling it out carefully to avoid further damage.
After removal, inspect the area for any remaining debris or damage. Clean the bore thoroughly before proceeding with the installation of the new valve guide. Proper removal ensures a smooth and successful repair process.
Reaming the Affected Area
Reaming the affected area is a critical step in the repair process, ensuring the surface is smooth and properly prepared for the new valve guide. Use a reamer tool, such as part number 19183, to carefully remove any damaged or worn material from the valve guide bore. This step is essential to achieve a precise fit for the replacement guide.
Place the reamer into the bore and turn it clockwise while applying light pressure. Continue until the surface is even and free of imperfections. Be cautious not to over-ream, as this could damage the engine block. The recommended depth is 1/16 inch deeper than the new guide to ensure proper seating.
After reaming, inspect the area to confirm it is smooth and round. Use a cleaning brush to remove any debris or shavings. Proper alignment and cleanliness are crucial for the new guide to function correctly. If the area is uneven, further reaming may be necessary, but avoid exceeding the specified depth to prevent engine damage.
Once satisfied with the results, proceed to the next step in the repair process. A well-prepared surface ensures a successful installation of the new valve guide and optimal engine performance.
Installing the New Valve Guide
Installing the new valve guide requires precision to ensure proper alignment and seating. Start by applying a small amount of engine oil to the bore and the new guide to facilitate smooth installation. Use a valve guide driver or a press to gently push the new guide into place, ensuring it aligns correctly with the engine head.
Tap the guide lightly with a hammer or press it until it is flush with the cylinder head surface. Avoid applying excessive force, as this could damage the guide or the head. Once seated, verify the guide’s position by checking its alignment with the valve stem and rocker arm. Use a measuring tool to ensure the guide is not protruding more than 1/8 inch above the head casting;
If the guide is slightly loose, consult the repair manual for specifications on tightening or securing it further. Ensure the area is clean and free of debris before moving on to the next steps. Proper installation is critical for the valve to function correctly and prevent future issues.
Finally, double-check the guide’s placement and alignment before proceeding with reassembly. This step ensures optimal engine performance and prevents potential damage to other components.
Lapping the Valves
Lapping the valves is a critical step to ensure proper sealing between the valve face and the valve seat. This process involves using a lapping compound and a valve lapping tool to create a smooth, even surface. Apply a small amount of lapping compound to the valve face and attach the lapping suction cup or tool to the valve stem.
Gently rotate the valve back and forth while applying light pressure; This motion grinds the valve face against the seat, creating a precise seal. Periodically inspect the valve face and seat to check for an even, polished surface. Continue lapping until the desired finish is achieved, then thoroughly clean the area to remove any remaining compound.
Proper lapping ensures optimal engine performance by preventing leaks and maintaining compression. Use a valve lapping tool specifically designed for your engine type, as improper tools can damage the valve or seat. Always refer to the repair manual for specific lapping compound recommendations and techniques.
Tip: Avoid using excessive compound or applying too much pressure, as this can damage the valve or seat. Light, consistent strokes yield the best results.
Checking and Adjusting Valve Clearance
After installing the new valve guide and lapping the valves, it’s essential to check and adjust the valve clearance to ensure proper engine operation. Incorrect clearance can lead to poor performance, increased oil consumption, or even engine damage.
Begin by gathering a feeler gauge, a wrench for the rocker arm nut, and any necessary shims or adjustment tools. Turn the engine over to position the valve you’re working on at the correct point in its cycle. Measure the clearance using the feeler gauge, ensuring it matches the specifications outlined in your repair manual.
If the clearance is incorrect, adjust the rocker arm nut or replace shims as needed. Tighten the nut gradually, checking the clearance after each small adjustment. Repeat this process for all valves, turning the engine over as required to access each one.
Tip: Always double-check the clearance after adjustments to ensure accuracy. Properly set valve clearance ensures efficient combustion, reduces wear on moving parts, and maintains optimal engine performance.
Inspecting and Replacing Push Rods
Inspecting and replacing push rods is a critical step in ensuring proper valve train functionality after a valve guide repair. Over time, push rods can bend or wear out, especially if the valve guide was damaged, leading to misaligned valvetrain components.
Start by removing the rocker cover to access the push rods; Visually inspect each push rod for signs of bending, excessive wear, or damage. If a push rod is bent, it must be replaced, as attempting to straighten it can lead to further issues.
When replacing push rods, ensure you use genuine Briggs & Stratton parts or high-quality equivalents to maintain proper engine performance. Install the new push rods by aligning them with the lifter and rocker arm, ensuring they are securely seated.
After installation, check the valve clearance again, as the new push rods may affect the existing adjustment. Properly functioning push rods ensure smooth engine operation, prevent valve train noise, and maintain efficient combustion.
Tip: Always consult your repair manual for specific torque specifications and procedural guidance when working with push rods.
Consulting Repair Manuals and Resources
Consulting repair manuals and resources is essential for a successful valve guide repair on your Briggs & Stratton engine. The official Briggs & Stratton repair manual provides detailed instructions, diagrams, and specifications for your specific engine model, ensuring accuracy and safety during the repair process.
These manuals often include step-by-step guides for diagnosing issues, removing components, and installing new parts. Additionally, they specify the correct tools and part numbers required, such as reamers, guide bushings, and replacement valve guides. Online forums, repair videos, and small engine repair communities can also offer valuable insights and tips from experienced mechanics and DIYers.
Always verify the compatibility of repair kits and tools with your engine model to avoid mismatches. For example, part numbers like 19232 for 5/16 valve stems or 231218 for bushings are often referenced in these resources. Summit Racing and other suppliers provide repair kits specifically designed for Briggs & Stratton engines, ensuring optimal performance after the repair.
Tip: Double-check the manual for torque specifications and procedural guidelines to prevent engine damage or safety hazards. Proper documentation is key to a smooth and effective repair.